ℹ Note: Update to firmware 9.9.0 to enable Opensea contracts (and possibly other NFT platforms).
What is Rabby?
Rabby is a chrome extension that lets you connect to web based DApps. It works the same as Metamask. You can connect your BitBox02 with Rabby to interact with DApps while keeping your keys safe on your BitBox02 hardware wallet.
Getting started with Rabby
Pre-requisites
- A BitBox02 Multi
- Download and install BitBoxBridge
Step 1: Setup the BitBox02 Multi
If your BitBox02 is new, set up the device by downloading and installing the BitBoxApp and following the in-app instructions.
Download: BitBoxApp
Step 2: Install the BitBoxBridge
To use Rabby, you need to download and install the latest BitBoxBridge. The BitBoxBridge is a program that runs in the background and allows the BitBox02 to communicate with web based wallets.
Download: BitBoxBridge
Step 3: Start using Rabby with the BitBox02
Install Rabby extension from the Chrome store.
Note: Currently Rabby only works with Google Chrome and Brave browser but they have plans to release on Firefox as well.
Make sure the BitBoxApp is closed before connecting with Rabby or you may encounter connectivity issues.
Compare the displayed pairing code with the one shown on the BitBox02 display and confirm on the device, if it matches.

Signing an Opensea smart contract is not working (or other NFT platforms).
Make sure the BitBoxApp is closed before connecting with Rabby or you may encounter connectivity issues.
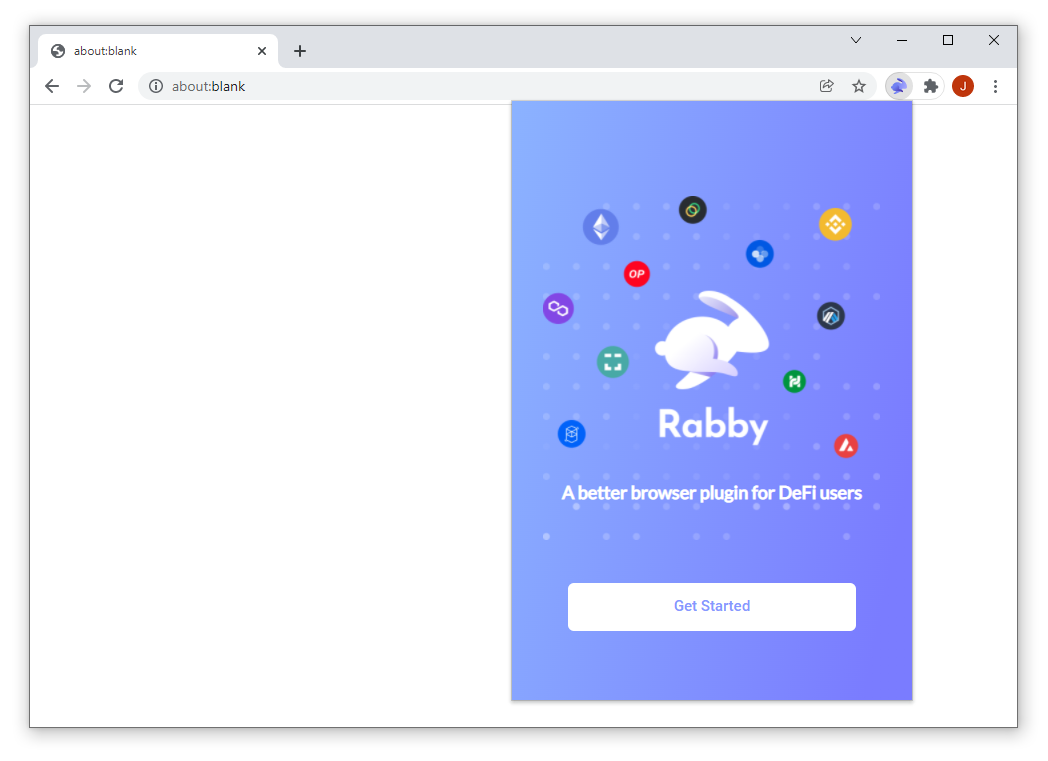
When you first start Rabby, you will have to go through the regular setup process first. Start by clicking on Get Started.
Next, choose a password and confirm it.

Rabby will ask you which wallet you want to connect to it. Plug in your BitBox02 and then choose BitBox02 from the list. Then unlock the BitBox02.
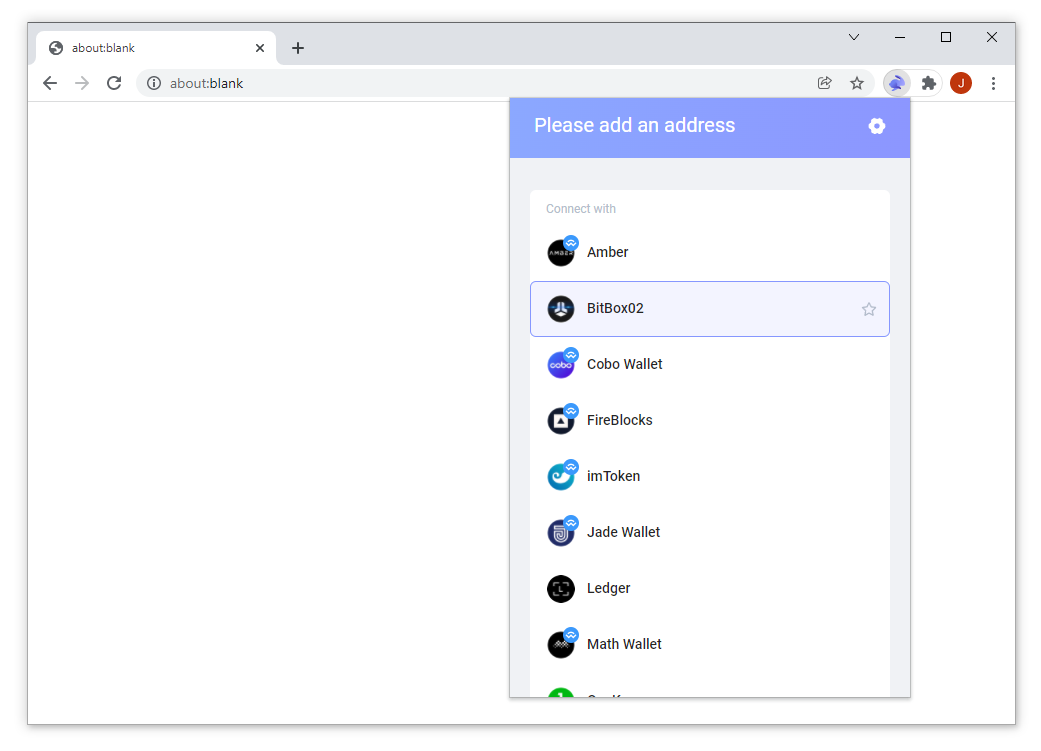
Compare the displayed pairing code with the one shown on the BitBox02 display and confirm on the device, if it matches.
Note: You will only be shown a pairing code when connecting for the first time.
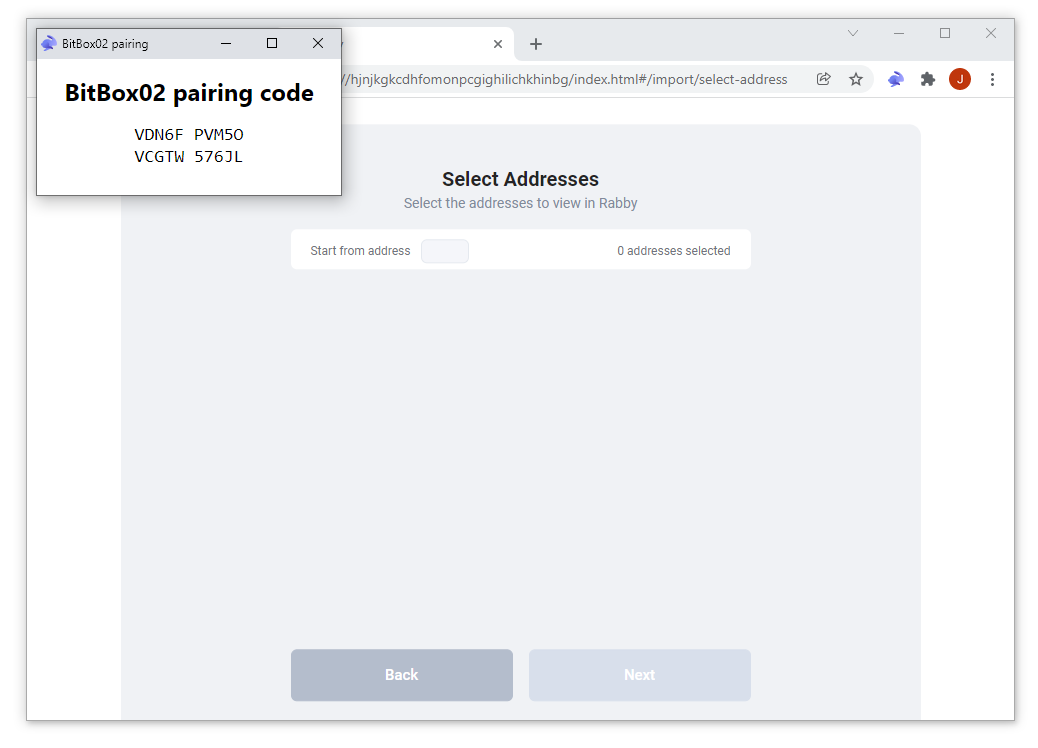
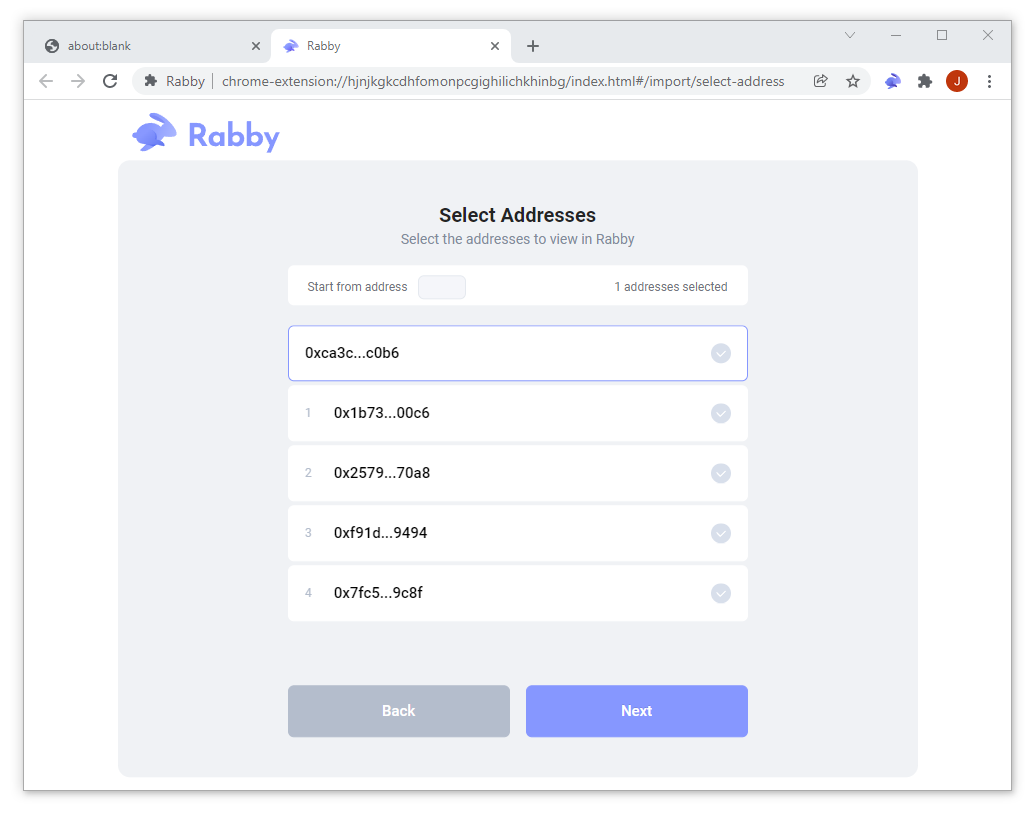
On the next screen you will be asked which addresses you want to import. If you want to choose the ETH address that’s used in the BitBoxApp, you can choose the first one. You can also choose more than one. Then click Next.
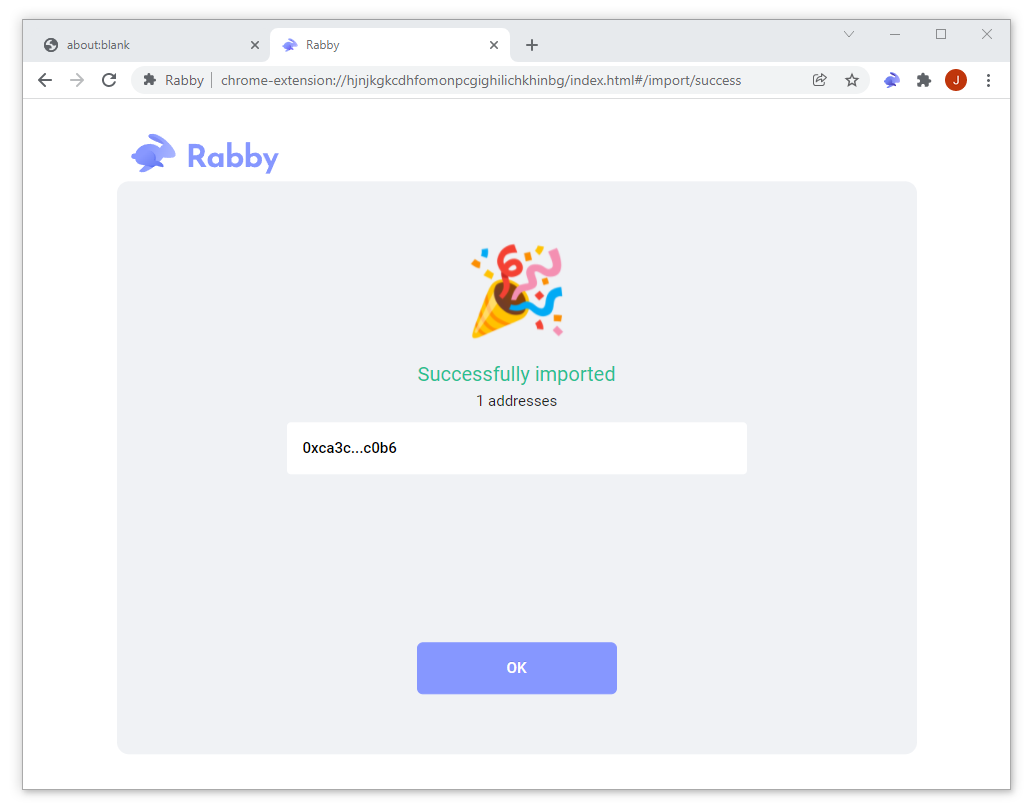
Rabby will tell you that the import was successful.
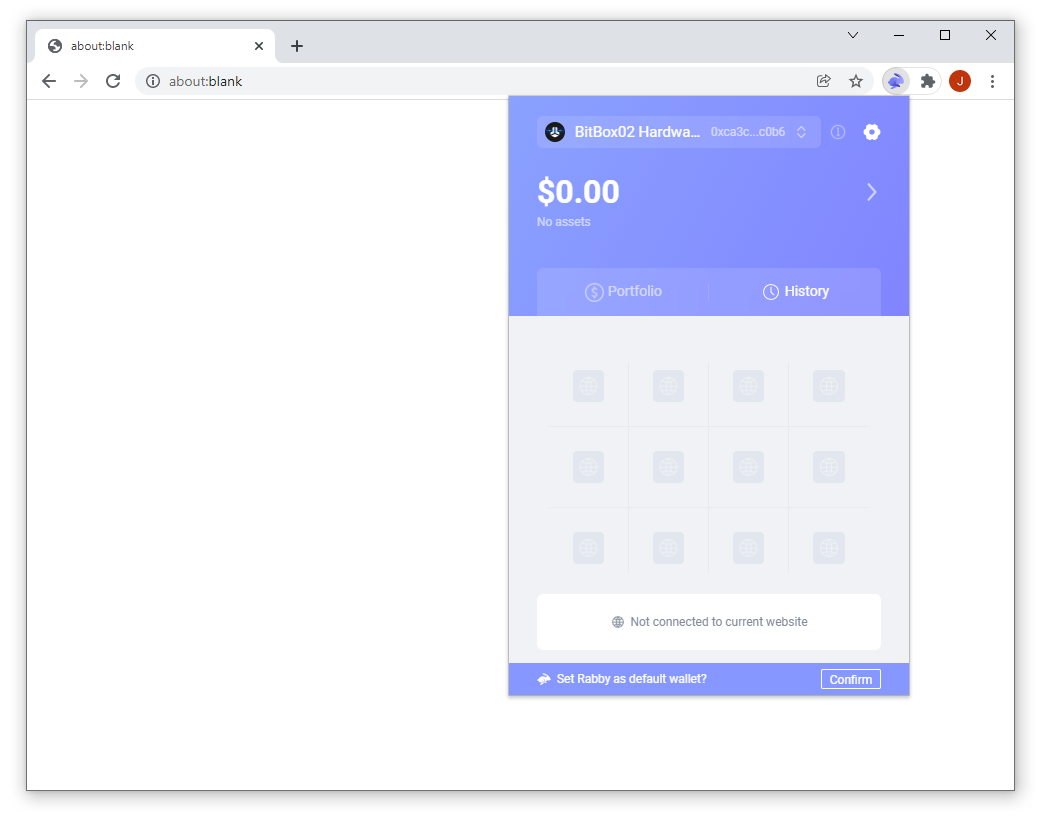
Lastly, please set Rabby as your default wallet. This way it will automatically open whenever you want to connect with a Dapp.
At the bottom of the Rabby popup, it will say Set Rabby as default wallet? Then click Confirm.
Done! Now you can connect to Ethereum DApps.
How to connect with DApps using Rabby
Connecting Rabby to DApps is simple, and if you are familiar with MetaMask, it works exactly the same way.
- Go to the DApp website you want to connect to (For example, app.uniswap.org)
- Click on Connect Wallet and select the MetaMask option. Rabby will automatically popup and then click connect in the Rabby popup.
Your connected apps will be shown in the Rabby overview.
Troubleshooting
Rabby is not opening when I click MetaMask/MetaMask is still opening by default.
If Rabby does not open or if MetaMask is opening instead, please try the following:
Make sure Rabby is set as you default wallet
Open and unlock Rabby
At the bottom of the popup, it will say Set Rabby as default wallet? Then click Confirm
Refresh the DApp website and try again
If it is still not working and you have MetaMask installed, try disabling MetaMask
Right click the Metamask icon, then click Manage extensions
Then click the toggle to disable Metamask
Go back to the DApp website, refresh and try again.
Signing an Opensea smart contract is not working (or other NFT platforms).
Please make sure your BitBox02 firmware is up-to-date. Opensea contracts support was added in the 9.9.0 firmware update.
To update the BitBox02 firmware:
To update the BitBox02 firmware:
- Download and install the latest BitBoxApp
- Open the BitBoxApp
- Plug-in and unlock the BitBox02
- Click on "Device settings" in the sidebar
- Under "Firmware", it will say new firmware is available if you are not already up-to-date
- Install the firmware by following the on-screen instructions
